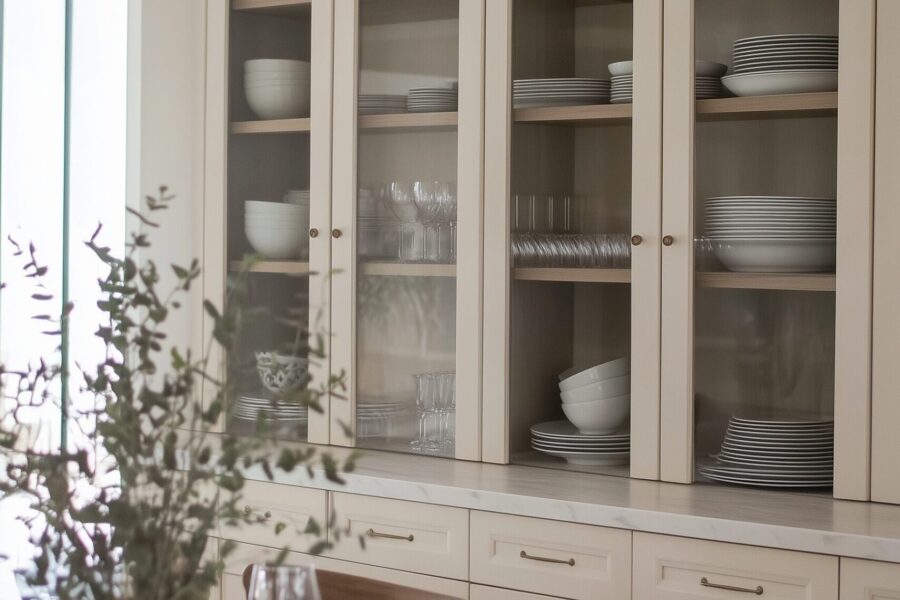
I’ll be real with you: A kitchen cabinet paint job can sound like an easy-do at first, but you’re five hours into it with primer covering your body wondering why you thought that was a good idea. Trust me—I’ve been there. The prep, the sanding, the multiple coats, and the amount of time they will take out of your world can be intimidating, especially when you have work, family, and life itself to juggle. Long weekend DIY projects are not great when you were planning to cross off that list you put together for those rainy days off work, and painting overhead just extended your vacation. But here’s the good news—modern solutions have drastically improved paint job timings for do-it-yourself cabinet makeovers.
I recently completed my own dated oak cabinets, and I remember thinking, “this looks intimidating to me, but I’ll give it a go.” I was wrong, because I used a handful or tool that made my project less than half the time I thought it would take (without losing quality). I guaranteed hours of waiting without a drip and looking positively forward to the next step (yes, even thinking about parting the paint drying times).
And it is my goal that you get the same experience whether you are redoing a small kitchen or doing a full remodel, because, the right gear and equipment will turn a boring step and process into a concrete creative and satisfiying hobby.
So, what are the best time-saving tools for painting kitchen cabinets? Right off the bat, the essentials include an HVLP paint sprayer, a set of hardware removal jigs, and a sanding sponge. These aren’t flashy gadgets—they’re serious time-savers that produce professional finishes even for beginners. In this post, I’ll walk you through ten of my favorite game-changing tools, how to use them effectively, and why they can make your next cabinet project smoother, faster, and (dare I say?) actually fun. If you’ve been searching Pinterest for “how to paint kitchen cabinets fast,” you’re exactly in the right place.
Why should you use time-saving tools for painting kitchen cabinets?
Once you embark on your kitchen cabinet painting project, you’ll see how quickly (and easily!) time slips away when you complete the crucial early steps of prepping, cleaning, and drying (sanding and priming) each cabinet and door. Once you have tools to cut through the prep, the whole process doesn’t just take hours of work out of your kitchen painting project, it adds quality to the result. When you get smooth finishes, cleaner edges, and aren’t brushing everything number of times, guess what? Your kitchen cabinets look like you paid a professional to do the work! Whether you are upgrading to sell or simply want your space to feel a little lighter and modern, these tools will give you that satisfaction quickly, while sacrificing a high quality finish.
Here are ten tried-and-true tools that will change how you paint cabinets, with tips on how to put them to good use.
Shop: time saving tools for kitchen cabinet painting
1. What makes a high-quality paint sprayer the ultimate time-saver?
If you buy only one thing for your cabinet makeover, let it be a high-quality HVLP paint sprayer. Sprayers provide fast, even coverage, and they’ll eliminate brush marks from your project. The learning curve is very small. Once you learn the technique (that is always slightly lighter with light and consistent passes, usually about six inches away), you’ll blow through both doors and door frames. Buy one that is designed for fine finishes and has adjustable pressure as well as a cleanup feature to make the process easier for you.
Bonus tip – establish a simple spraying station in your garage using drop cloths and painter’s pyramids and you’ll find great success and speed from it, and you’ll never consider going back to traditional methods of painting.
Shop: HVLP paint sprayer for cabinets
2. How can sanding sponges simplify surface prep?

Every smooth finish starts with proper sanding, but traditional sandpaper can slow you down. That’s where sanding sponges shine. They’re nice and cozy in your hand, get the corners easy, you can rinse and re-use them repeatedly. When using for cabinets, I suggest a medium grit to knock the gloss off, then fine grit between coats for that soft, satiny finish. They’re especially helpful for curved edges, shaker-style doors, and, of course, detail work that flat sandpaper can’t do.
Shop: sanding sponge for cabinets
3. Why is a degreaser critical before painting?
Kitchen cabinets collect an invisible film of oil and grime that regular soap can’t remove. Skipping this step guarantees paint adhesion problems. Use a concentrated cleaner like TSP substitute cleaner to cut through buildup quickly. Wipe down with warm water after cleaning, and let everything dry before moving to sanding or priming. You’ll notice your paint glides on more evenly—and lasts far longer.
Shop: TSP substitute cleaner
4. How do painter’s pyramids speed up drying time?
Waiting for cabinet doors to dry is one of the biggest bottlenecks in the entire process. Enter painter’s pyramids—the tiny but mighty solution that lets you paint both sides of your doors without long wait times. These small plastic systems help raise your cabinet doors off the table, allowing air to circulate on both surfaces which can significantly cut drying time between coats. Plus, they help eliminate sticking, smudges and scratches while you work, meaning fewer touch-ups later.
Shop: painter’s pyramids
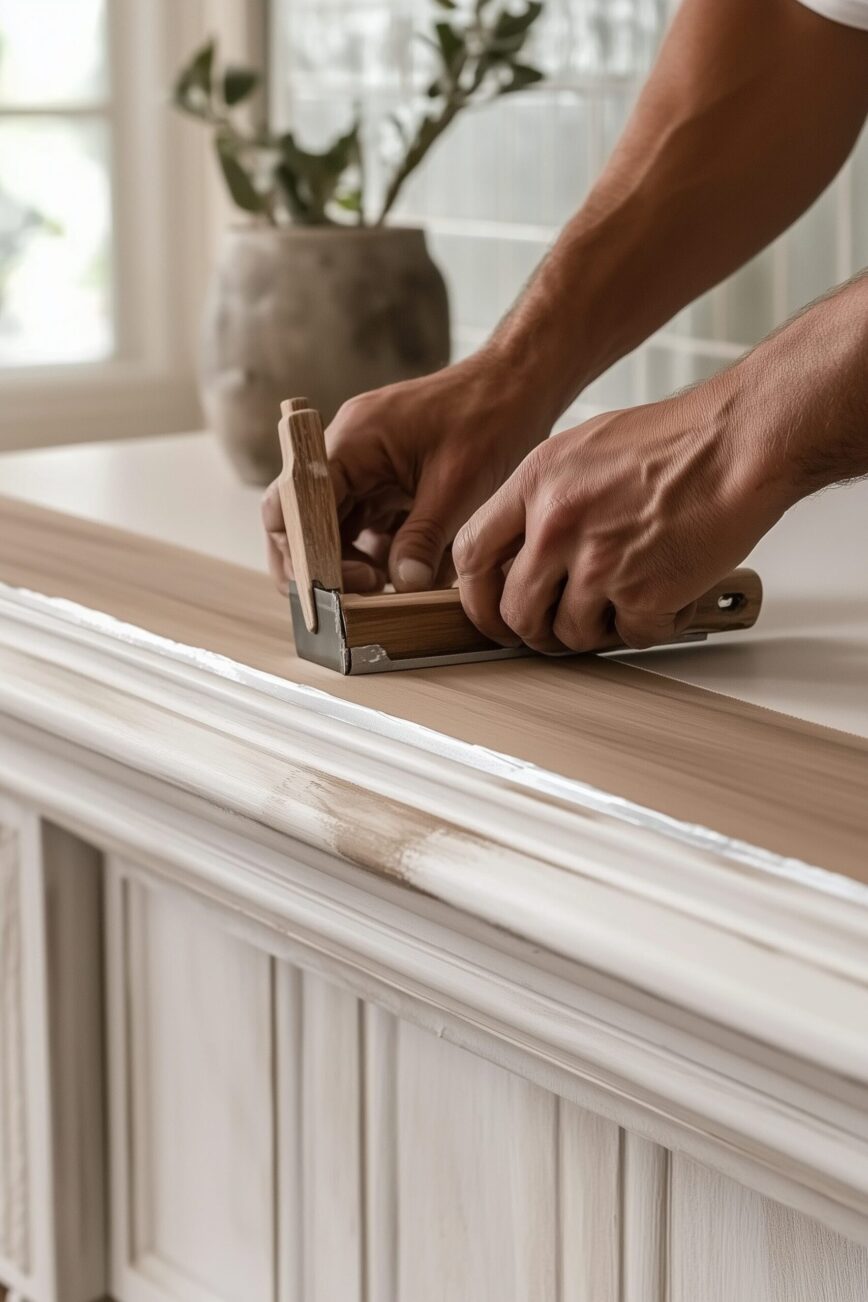
5. What’s the quickest way to remove and label cabinet hardware?
Before painting, you’ll need to remove every handle and hinge. Doing this haphazardly can waste hours during reinstallation. The trick? A simple cabinet hardware jig or drill guide ensures you reinstall everything accurately later. Combine this with a labeling system—use numbered bags or tape notes inside each door—and your future self will thank you. Quick, precise, and foolproof.
Shop: cabinet hardware jig
6. How can a flexible tack cloth prevent paint imperfections?
After sanding, even the tiniest dust particles can ruin your final paint coat. A tack cloth is a sticky, reusable piece of fabric designed to grab every speck of dust before painting. It’s a little thing, but visually it makes a big difference. Wipe surfaces lightly right before spraying or brushing on paint and you will see just how much smoother and cleaner the paint looks for each coat—no lint or specking to sand out later.
Shop: tack cloth
7. Why is the right primer as important as the paint itself?
Many people skip primer, thinking it’s an optional step, but it’s one of the biggest time-savers in the long run. A bonding primer like Zinsser BIN primer ensures paint sticks properly and reduces the need for multiple coats. Cabinet paints often struggle to cover dark wood or glossy finishes without one. A quality primer dries quickly, seals stains, and gives you a perfect base for your topcoat, reducing overall drying and recoating time.
Shop: Zinsser BIN primer
8. How does a lazy Susan or turntable make painting easier?

One of the most overlooked but amazing hacks: use a lazy Susan turntable while painting doors or drawer fronts. You can spin each piece around without having to mess with wet paint and without having to get up and walk around your work area. You can apply the paint evenly as you avoid bending, stretching, and messy fingerprints all with a great tool. It is valuable when spraying doors with detail evenly.
Shop: lazy Susan turntable
9. How can painter’s tape and masking tools deliver crisp edges fast?
When painting cabinet frames or around walls, precision is everything. Invest in high-quality painter’s tape designed for delicate surfaces—it sticks firmly but removes cleanly. To make taping even quicker, consider a masking dispenser. It applies tape and plastic film simultaneously, protecting nearby countertops and appliances in seconds. Fast setup equals faster painting and less cleanup later.
Shop: painter’s tape for clean lines
10. What finishing tools help your topcoat look professional?
Even if you spray, finishing touches still matter. Use a high-density foam roller for leveling out surfaces and a soft angled paint brush for corners and small details. These help to achieve that amazing factory level smooth finish, especially with satin or semi-gloss paints. Whatever you do, avoid applying heavy coats, and you should lightly sand between application after each coat with a fine sanding sponge for that unbeatable smooth feeling.
Shop: high density foam roller
How should you organize your kitchen cabinet painting project?
Now that you’ve got the tools, time management becomes your biggest asset. Use these steps to keep things simple:
- Label everything: Number your doors and drawers before removal.
- Batch tasks: Clean all doors first, then sand all, then prime, etc. Assembly-line style will cut hours off your total project time.
- Create airflow: Faster drying equals faster recoating. Use fans and spacing systems like painter’s pyramids.
- Choose the right paint: Opt for cabinet-specific enamel paints—quick-drying and self-leveling are the magic words.
Shop: cabinet paint enamel
Can you paint kitchen cabinets in one weekend using these tools?
Yes—if you’re strategic. In reality, if you’ve got cleaning, sanding and priming tools doing half of the heavy lifting, most DIYers can reasonably finish in a couple of days. Day one can be prep, primer and first coats; day two can be finish coats and reassembly. A paint sprayer, pyramids stands, and rapid-dry primer can really shorten your time frame. You’ll still have some basic drying times, but you can absolutely finish on a Sunday night, and have great results.
Shop: quick dry primer
Final Thoughts: Are time-saving tools really worth it?
For sure. Investing in a few really good tools is not just going to speed up your work but make it easier, and surprisingly, fun, to boot! You’ll get professional results with less frustration or maybe even find it relaxing. You will not want to go back to the days of brushing and sanding once you experience how easy painting can be with the right tools.
You will feel every hour you saved was worth the new cabinets where they look like new again. So grab the tools, prep the space and get started! Your dream kitchen is just a weekend away.
This post was all about 10 Time-Saving Tools for Painting Kitchen Cabinets
FAQs
How do I get a smooth finish on painted cabinets?
Use a combination of sanding sponges, tack cloths, and a sprayer or foam roller. Light sanding between coats ensures a silky-smooth surface.
Do I need to remove cabinet doors before painting?
Yes, always remove doors and hardware for even coverage and to prevent visible paint lines at the hinges or handles.
What’s the best paint for kitchen cabinets?
A water-based enamel or acrylic latex formulated specifically for cabinets offers durability and easy cleanup.
How long should I wait between coats?
Follow paint label directions—typically two to four hours. Using painter’s pyramids improves airflow and helps shorten drying times safely.
Can I skip primer if I sand thoroughly?
It’s not recommended. Primer seals wood tannins and ensures maximum adhesion, especially on previously finished surfaces.


Leave a Reply